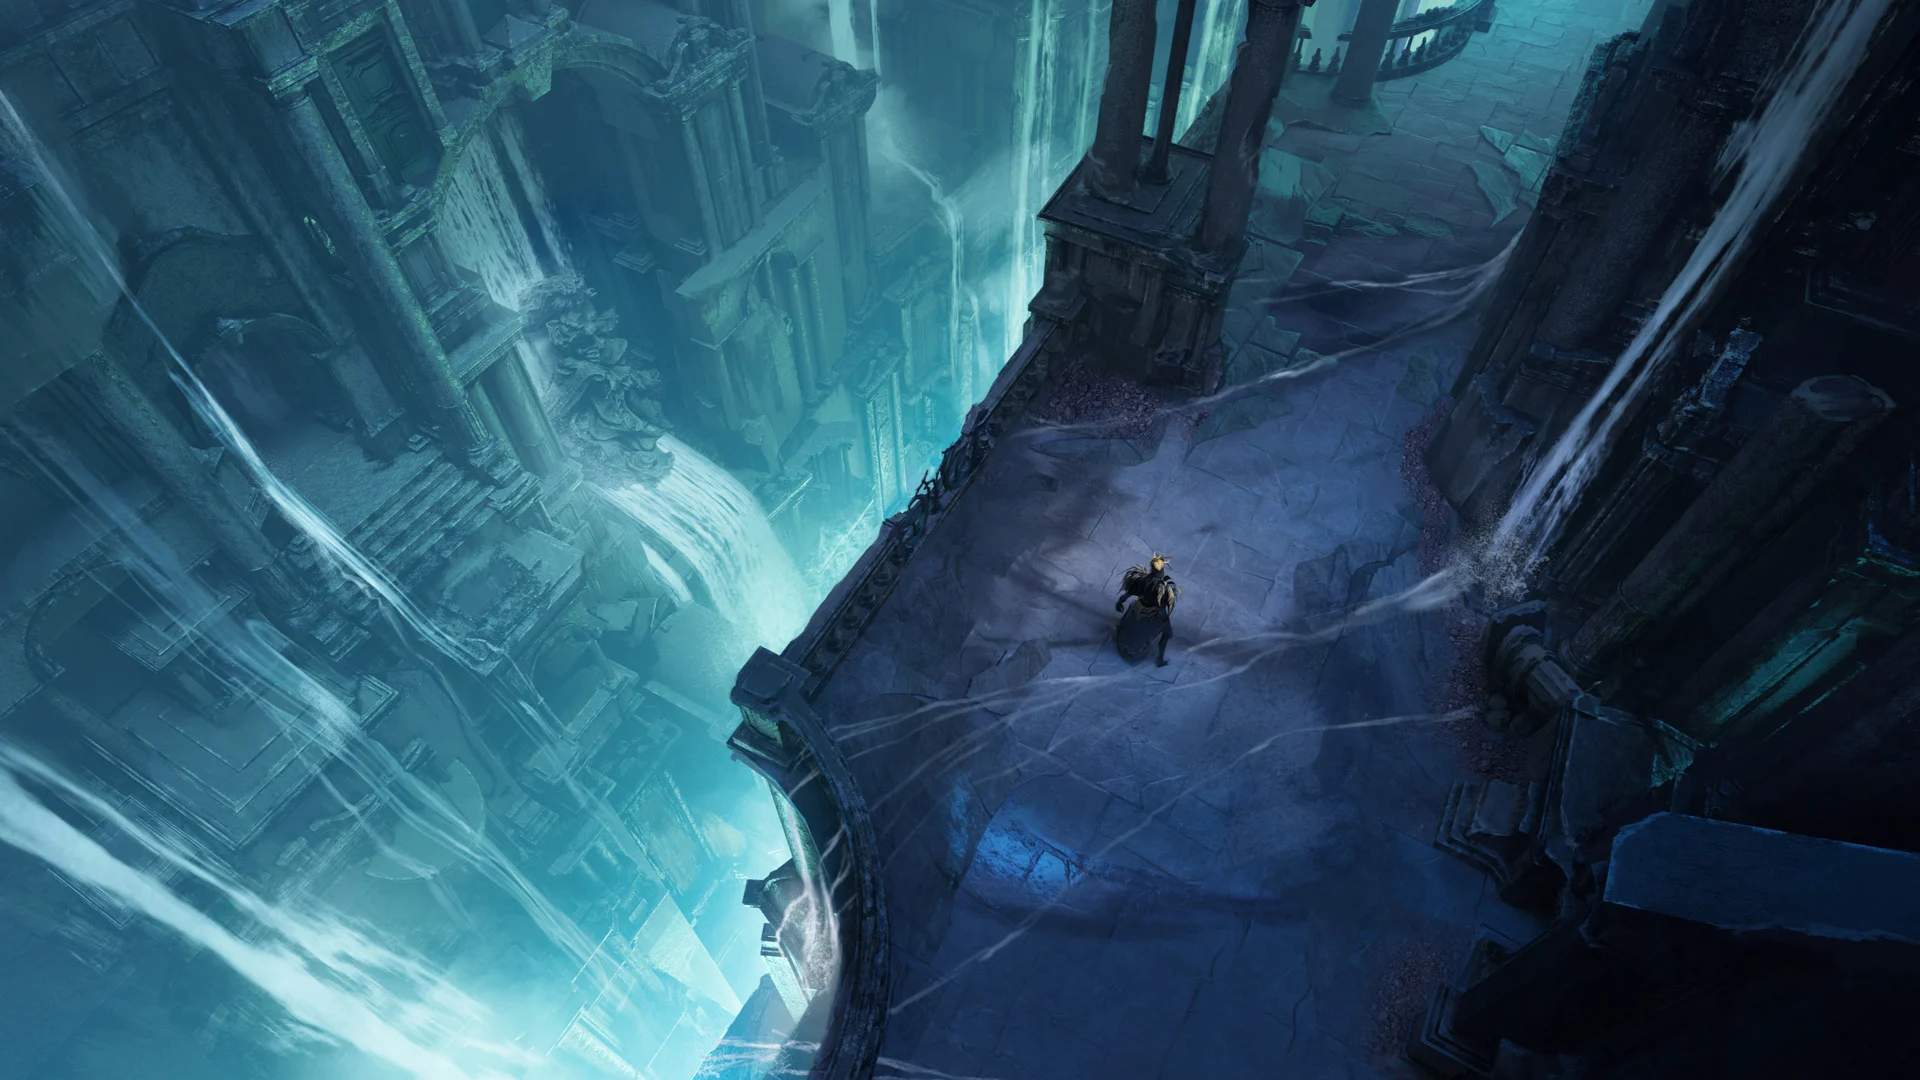
Waterfall Sanctum Boss Arena
👹 PVE & BOSS ENCOUNTERS • 9 VERIFIED THREATS 👹

Tower Tormentors & Monsters

The Tower is not merely an arena for rival squads—it is inhabited by lethal monstrosities, ancient automatons, and collapsing environmental hazards that can either decimate your team or become an unwitting weapon to wipe your opponents.
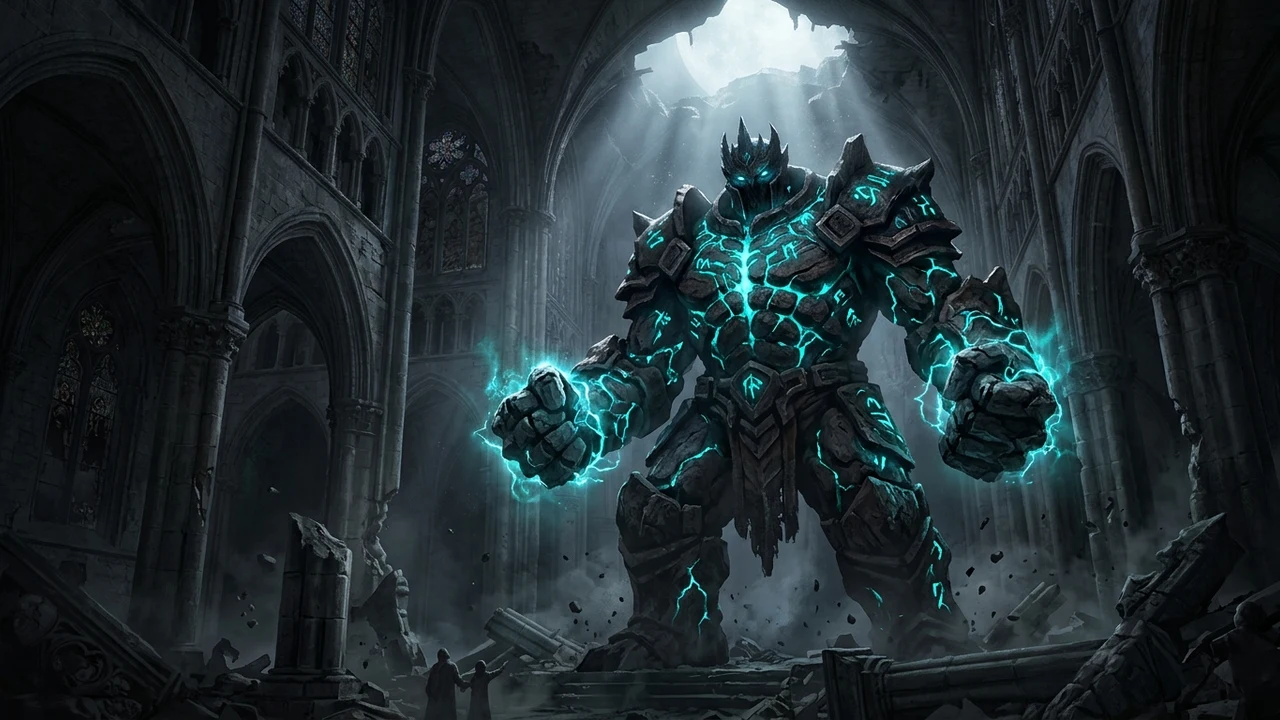
The Destroyer ("Grandma")
Extremely Lethal
Spawn: Floor 2 & 3 Central Beacons (Ascension)
World Boss Encounter • World Boss / Titan

The Destroyer ("Grandma")

The most feared roaming entity in the Tower. Known internally at Bonfire Studios and across the community by its affectionate nickname "Grandma", this towering behemoth crashes into active beacon fights, flattening entire squads with devastating ground-pound craters and its signature Sky Slam shockwave.

💡 Official Dev Note: Bonfire Studios developers explicitly highlighted a match story in the Early Access announcement where pulling "Grandma" into a beacon fight turned the tide into an instant 3-team wipe.

Tactical Strategy:

  • • Baiting Strategy: Top competitive squads use Edani’s Pulling Claws or Hollow’s Darkling Wall to funnel The Destroyer directly into rival squads contesting central Beacons.
  • • Ground-Pound Telegraphed Leap: When The Destroyer coils for Sky Slam, all players must perform a timed Boosted Dodge (4.5m) or seek high ground to escape the expanding shockwave radius.
  • • Beacon Overload: Never attempt to channel a Beacon capture alone while The Destroyer is active within 30 meters.
Guaranteed Drops: ✦ Legendary Level 3 Relic Chest ✦ 500+ Fragments ✦ Guaranteed Consumable Restock ✦ Anchor Ability Orbs
HIGH THREAT GUARDIANS

Elite Tormentors & Labyrinth Wardens

Lethal sentinels guarding purple paid doors, teleporters, and the 4 quadrants of the Training Grounds Echo Chamber.
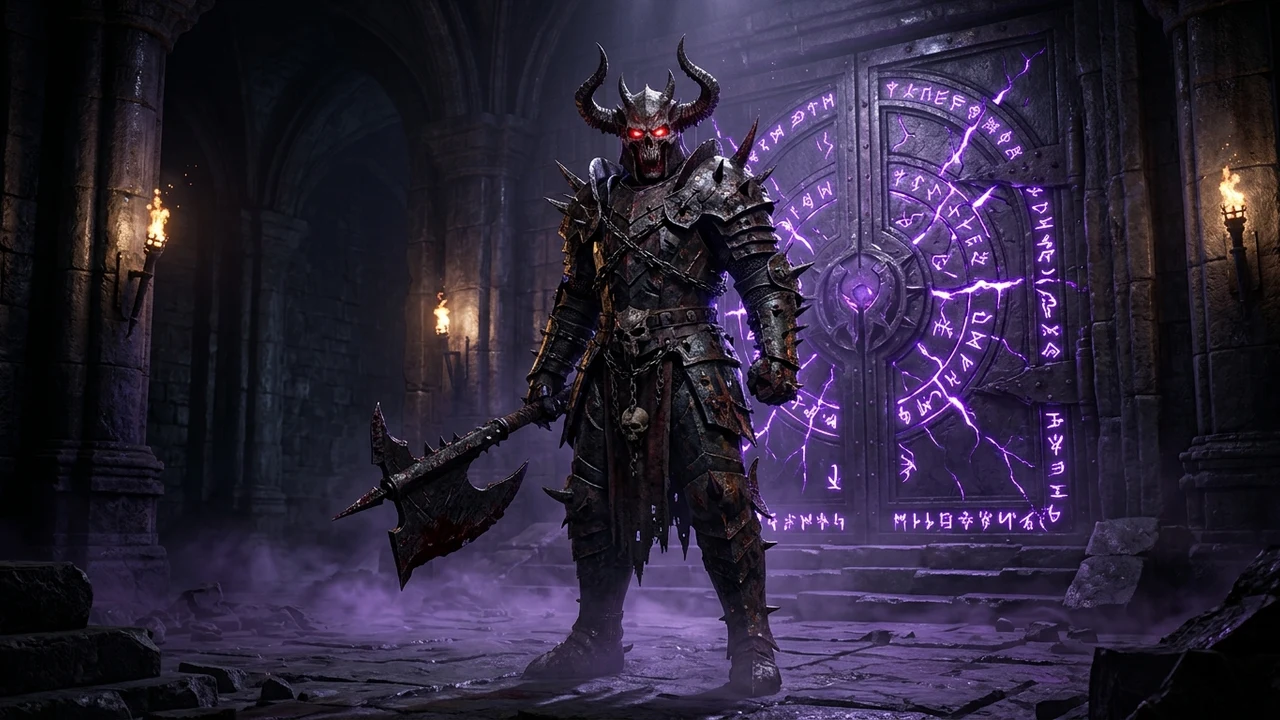
Elite Vault Tormentors
Elite Tormentor
High Threat
Location: Purple Paid Doors, Teleporters & Key Rooms

Elite Vault Tormentors

Ancient guardians tasked with protecting high-tier loot caches, purple paid doors, and shortcut teleporters. Towering over players with jagged dark-iron armor and colossal cleavers, these sentinels possess devastating heavy swings and staggering cleaves.

Tactical Breakdown:
› Flanking Awareness (1.0 Patch Update): Elite Tormentors are equipped with active rear-vision detection cones; sneaking up directly from behind triggers immediate counter-cleaves.
› Practice in Training Grounds: The Monstrous Echo Chamber in the Training Grounds features dedicated quadrants specifically mapped to Tormentor combat patterns.
› Coordinate Burst & CC: Chain crowd control like Shasur’s Flutter Step silence or Shasur’s Gust displacement to interrupt their heavy charged overhead smashes.
Key Drops:
High-Value Relic Drops (Level 2 & 3) Upgrade Fragments (200-350) Anchor Ability Orbs
Melee Tormentor Bruisers
Elite Tormentor
High Threat
Location: Tower Quadrants & Monstrous Echo Chamber (Quadrant 1)

Melee Tormentor Bruisers

Brutal close-quarters combat constructs equipped with bone-crushing maces and executioner cleavers. They relentlessly advance on players, utilizing sweeping arcs to corner teams against walls or abyss edges.
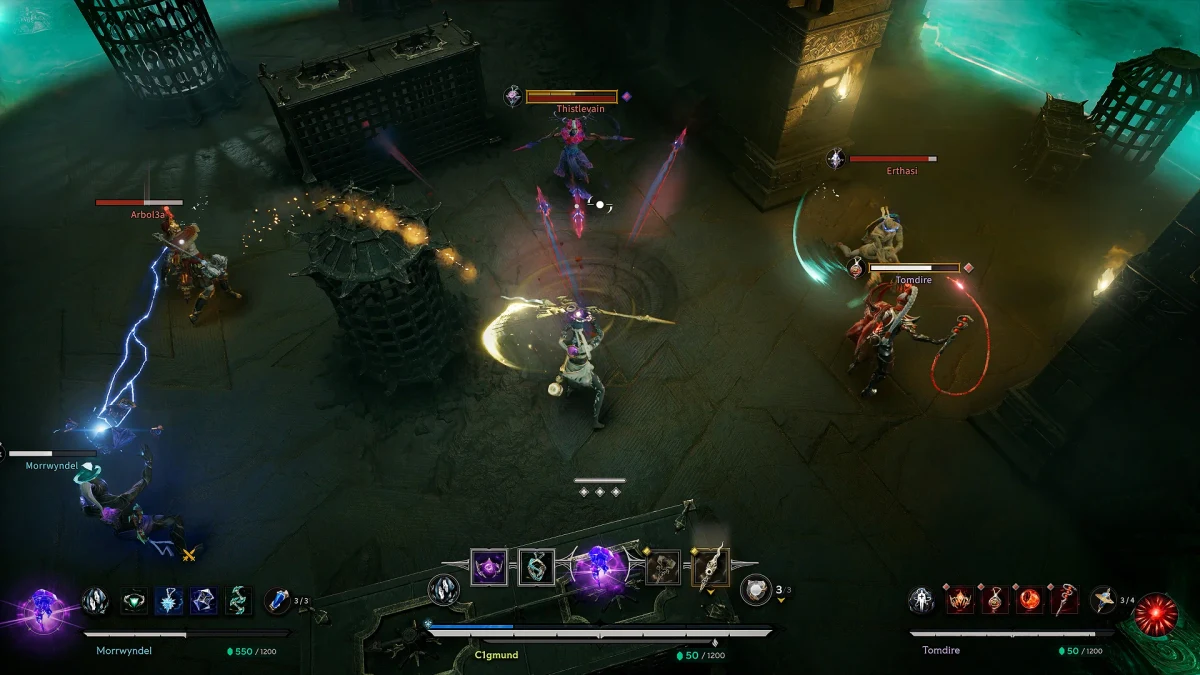
Tactical Breakdown:
› Parry Window Utilization: Utilize Irenna’s Reclaimer Blade 0.75s parry window right as their weapon reaches apex height to stagger them and gain +50 instant Fortitude.
› Breakout Management: Save breakout-capable abilities (Parasol, Outburst Crown, Tsu’bo Run Free) for their knockdown sweep rather than minor stagger hits.
› Spacing with Ranged Attacks: Ravah’s Talonflight Crossbow or Penelope’s Parasol can kite Bruisers around central pillars with directional slides.
Key Drops:
Level 2 Relic Upgrade Shards 150-250 Fragments Fortitude Shard Consumables
Ranged Tormentor Snipers & Spitters
Elite Tormentor
High Threat
Location: Spire Perimeters, Balconies & Echo Chamber (Quadrant 2)

Ranged Tormentor Snipers & Spitters

Perched on elevated platforms and narrow catwalks, these Tormentors fire high-velocity void projectiles that disrupt Beacon channeling and punish players lingering in open corridors.
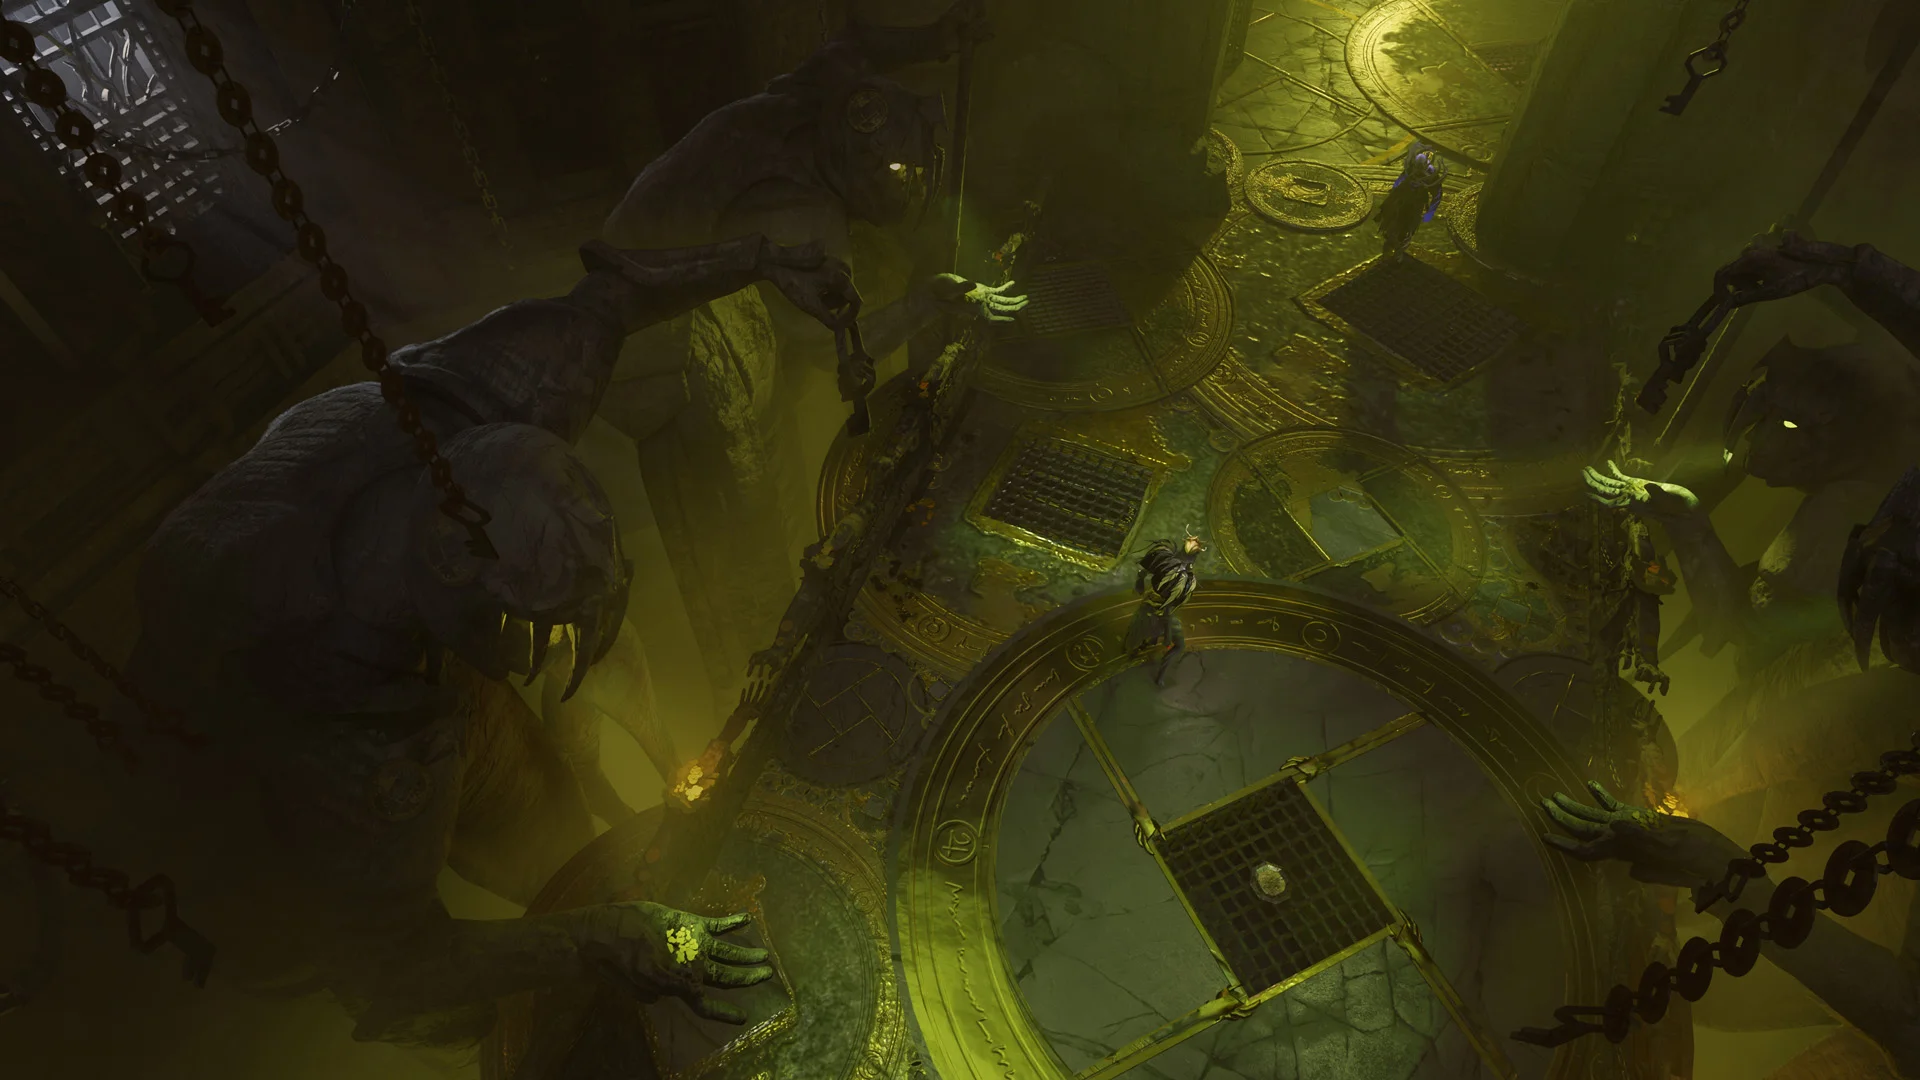
Tactical Breakdown:
› Projectile Reflection: Leodin’s Glint Spear (Reflect stance) directly bounces incoming sniper bolts back toward the shooter.
› Break Line of Sight: Hollow’s Darkling Staff (Darkling Wall, 125 HP) completely blocks their line of sight, forcing snipers into melee re-positioning.
› Flank via Vertical Grapple: Edani’s Lunging Hook allows players to rapidly scale balconies and assassinate snipers before they acquire lock.
Key Drops:
High-Tier Amulet Relics Projectile Defense Charms 180 Fragments
Tower Corridor
ECONOMY & PATROLS

Minion Swarms & Summon Shrine Wardens

Patrol constructs and automated shrine sentinels providing essential Fragment currency for relic upgrades.
Tower Minion Swarms
Minion Swarm
Moderate
Location: Corridors, Chamber Entrances & Echo Chamber (Quadrant 3)

Tower Minion Swarms

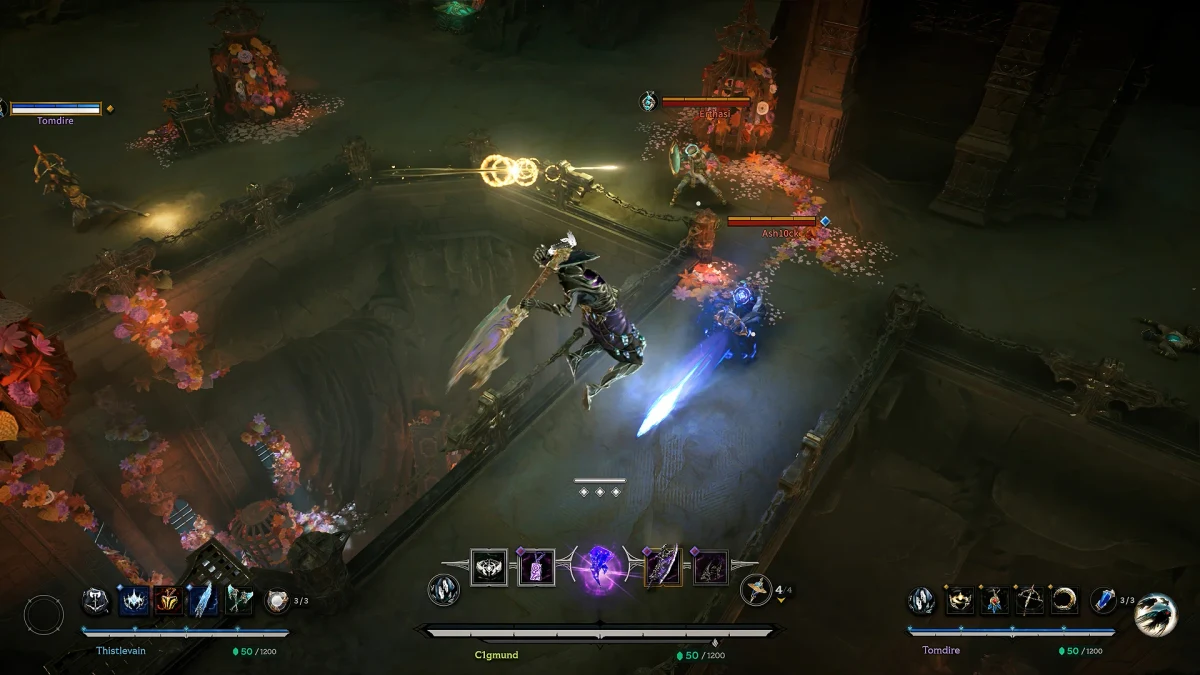
Aggressive humanoid and beast constructs that roam in packs of 4 to 8 through corridors and contested rooms. While frail on their own, their bodies block skillshot trajectories and reveal player footstep pings to nearby enemy squads.
Tactics & Mechanics:
› Save Cooldowns: Use basic weapon combos (Dual Axes Axe Combo or Dahla’s Slashing Variation) rather than high-cooldown crown abilities to clear swarms efficiently.
› Fragment Economy: Clear packs during transit between floors to accumulate the 1,000 to 1,200 Fragments required for Summon Shrine relic upgrades.
› Do Not Waste Stealth: Minions possess low detection radius; Dahla’s Vanish or Ravah’s Stalking stance can bypass packs without triggering alert sounds.
Fragment & Loot Drops:
15-30 Fragments per minion Occasional Fortitude Shards Consumable Refill Charges
Summon Shrine Wardens
Combat Automaton
Moderate
Location: Fragment Upgrade Shrines & Teleporter Plazas (Quadrant 4)

Summon Shrine Wardens

Automated sentinels anchored to Summon Shrines. When rival teams clash over upgrade stations, Wardens emit kinetic pulses to prevent uninterrupted relic enchanting and force chaotic multi-way engagements.
Tactics & Mechanics:
› Clear Before Upgrading: Spend 5 seconds bursting down the Warden before opening the Summon Shrine UI to avoid being knocked out of the upgrade menu.
› Crossfire Exploitation: Bait enemy players into the Warden’s kinetic pulse cone to stagger them right before landing your squad’s ultimate combos.
› Ward Destruction: Wardens have low Fortitude but high physical armor; elemental abilities (Karriv Searing Blast) bypass their defenses quickly.
Fragment & Loot Drops:
Bonus Summon Shrine Discount Token 100 Fragments Consumable Restock
Tower Void Abyss
ZONE CONTROL & LETHALITY

Environmental Hazards & The Well of Regrets

Non-player environmental dangers dictating movement choke points, ring collapses, and testing grounds.
The Well of Regrets
Interactive Hazard
Environmental
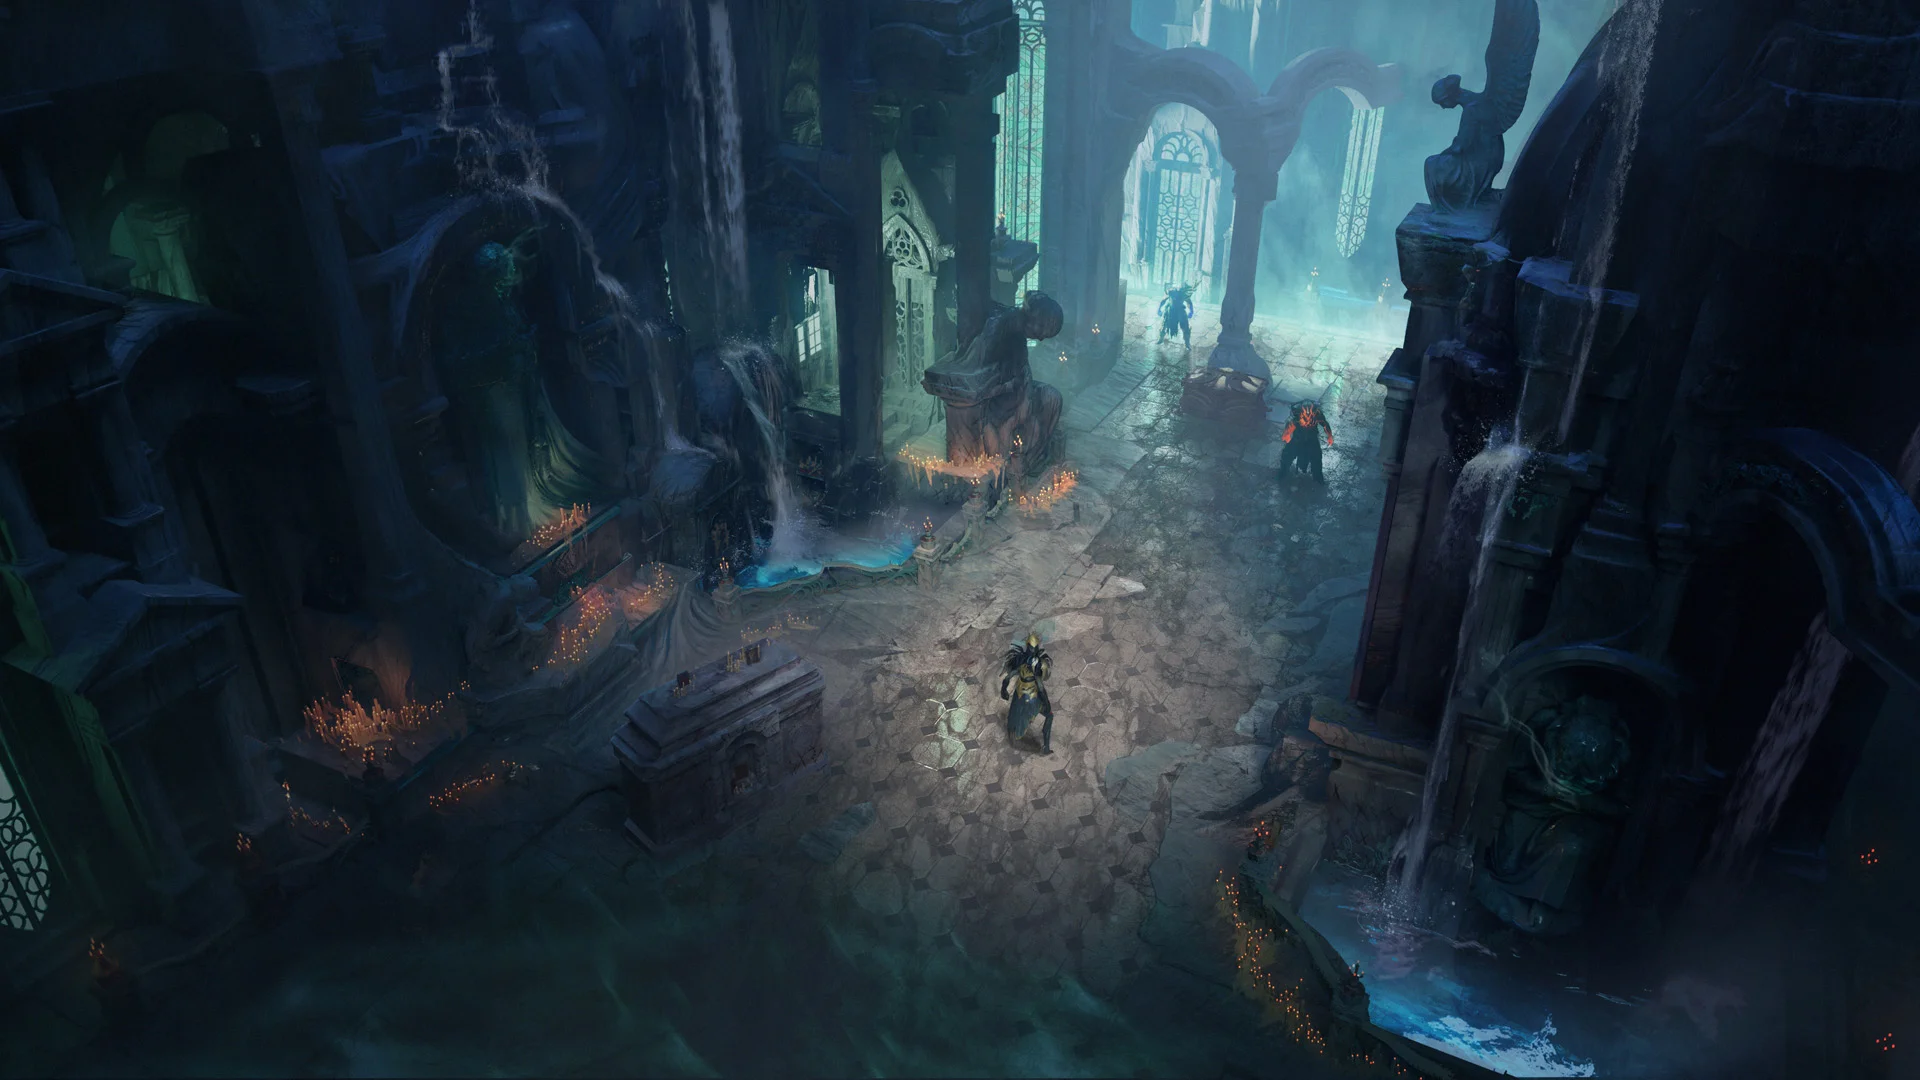
Location: Training Grounds & Subterranean Crypts

The Well of Regrets

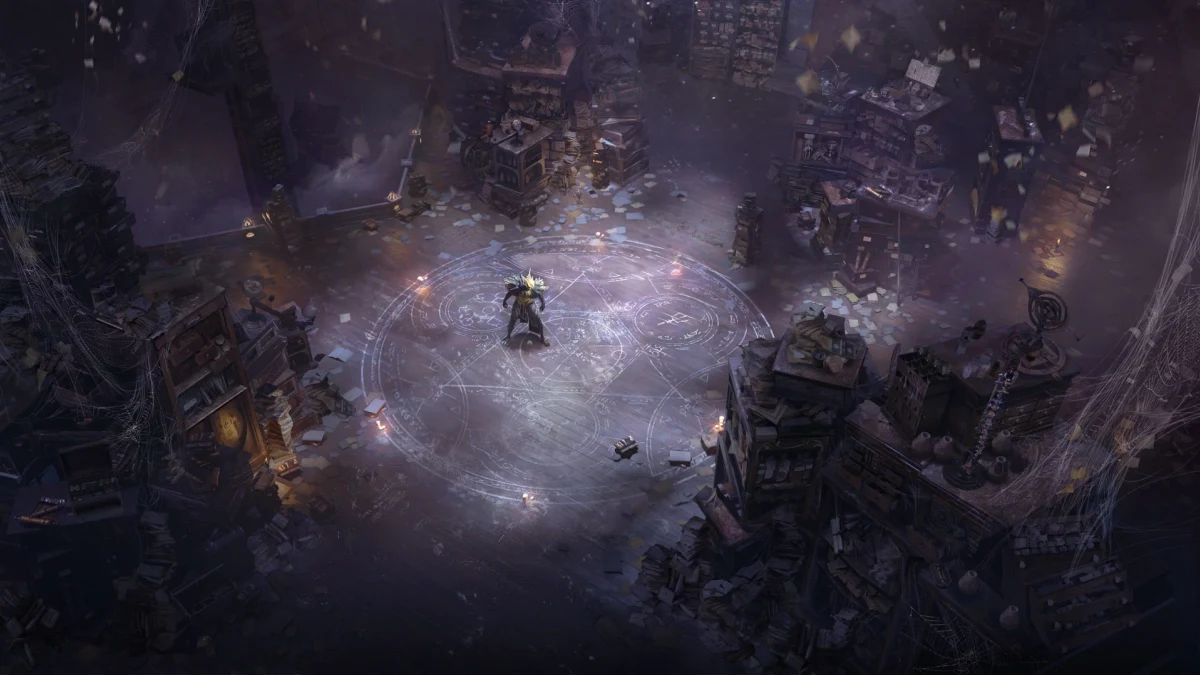
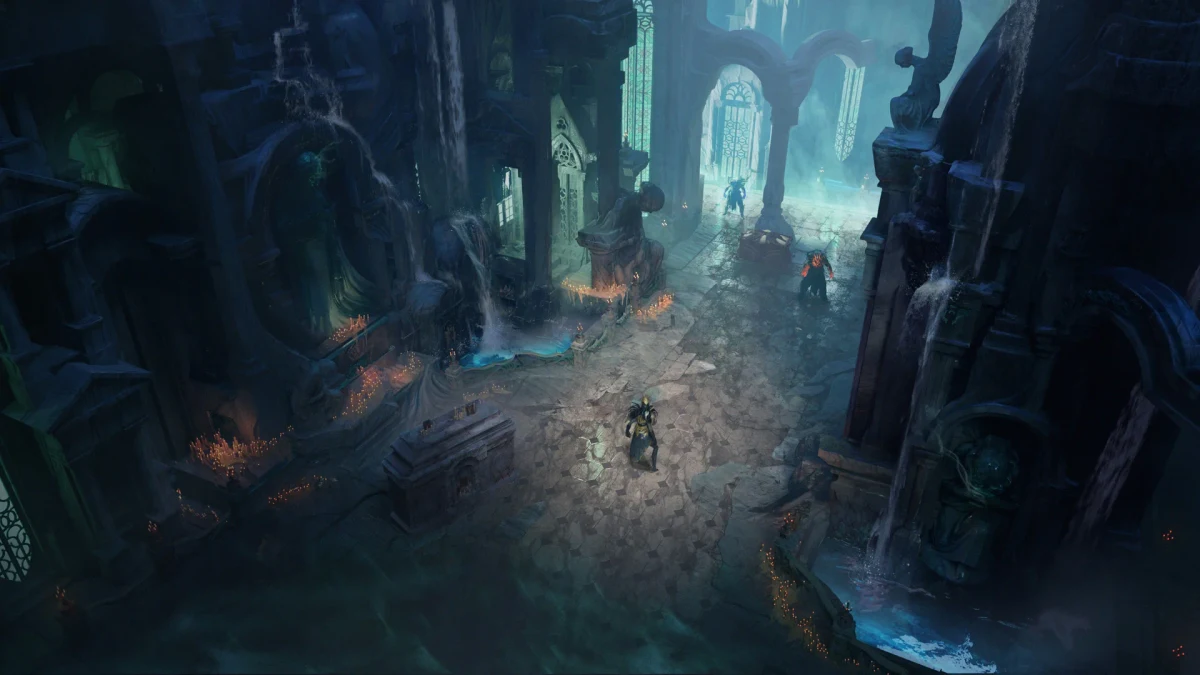
Added in Provisional Patch 1 to the Training Grounds and subterranean chambers. This dark necrotic font is the exact inversion of the golden Healing Well: it emits an ominous pulsating aura that damages all entities in its AoE without being lethal, providing the ultimate testing ground for sustain builds.
Tactical Avoidance & Use:
› Testing Sustain Builds: Step into the Well of Regrets to safely test Tsu’bo’s Run Free lifesteal rate, Healing Potions, Healing Wards, and Mending Hands regeneration numbers.
› Distinct Visual Cues: Unlike the golden sunlit Healing Well, the Well of Regrets features dark obsidian water with crimson/purple necrotic mist.
› Combat Application: In combat chambers, knock enemies into the well radius with Shasur’s Gust or Edani’s Claws to prevent their Fortitude shield regeneration.
Outcome / Hazard Impact:
Non-lethal damage testing facility Tactical environmental zoning
Miasma Collapse Fog
Environmental Hazard
Extremely Lethal
Location: Floor 2 & Floor 3 Outer Perimeters

Miasma Collapse Fog

A dense, swirling vortex of dark arcane miasma that contracts around each floor as the Ascension timer counts down. Lingering inside the miasma rapidly strips Fortitude shields and inflicts accelerating percentage-based true damage.
Tactical Avoidance & Use:
› Floor Clock Awareness: Track the central beacon countdown timer and relocate toward interior chambers 30 seconds before sector collapse.
› Zone-Control Denials: Drop Hollow’s Darkling Wall across narrow doorways leading out of the collapsing miasma to trap retreating opponents.
› Speed Buff Utilization: Activate Irenna’s North Wind Amulet (+25% team sprint) to outrun rapid perimeter collapse phases.
Outcome / Hazard Impact:
Area Denial (Forces surviving squads into Central Beacon battleground)
The Abyss Void-Fall
Environmental Hazard
Environmental
Location: Floor 3 Perimeters & 30-Player Condensed Ascension Maps

The Abyss Void-Fall

The bottomless cosmic void surrounding the Tower. In the newly condensed 30-player Ascension map, The Abyss has been intentionally brought inward as an active hazard to condense combat spaces and create thrilling high-stakes perimeter skirmishes.

Tactical Avoidance & Use:
› Displacement Knockoffs: Shasur’s Fan of Blades (Subtle Breeze / Gust) and Edani’s Irresistible Pull can instantly eject fully-geared Level 3 opponents over the edge for instant eliminations.
› Dodge Discipline: Never execute chained 3x Boosted Dodges (13.5m total traversal) parallel to open balconies, as recovery sliding can carry you over the lip.
› Banish Baiting: Edani’s Banish crown can trap an opponent right at the perimeter edge, leaving them completely vulnerable to displacement upon re-entry.
Outcome / Hazard Impact:
Instant Elimination of Opponents regardless of Health or Fortitude